
Healthy Horn
Take care of your horn, and it will...you know the rest.
Whether you're a pro, or maybe play for the community or just for the fun of it – you know brass instruments have particular needs when it comes to keeping them healthy and happy. Below is an overview of maintenance areas and issues – covering pretty much the basics involved with a conventional horn.
Safe, thorough cleaning with the Brass Mavens ultrasonic process addresses the most critical need: cleanliness. But when a tricky mechanical requirement pops up, such as disassembly/reassembly of a valve trigger or a rotary valve, give us a shout – the experts at Brass Mavens are here to help!


1. Mouthpiece
You might say that the mouthpiece is where you have the most intimate relationship with your horn. It’s the point where not just your style, technique and skill are applied, but also where air, moisture and saliva are introduced. The mouthpiece is also the easiest component to inspect and clean, so that’s nice. Many players store their mouthpieces in a pouch or small case, or even carry it in their pocket when not practicing or performing. Even there, dust, lint and more may collect in the cup and throat. Most players use a simple mouthpiece brush to regularly scrub the inside and avoid any significant buildup. On the outside, the mouthpiece comes in contact with the oils in your skin, as well as atmospheric components that affect the surface of the plating. There are different methods for polishing the outside—one simple and popular way is to just buff up the shine with a little toothpaste and a non-abrasive cloth.

2. Valve section
A clean and well-maintained horn will have fast, smooth and reliable valve action. No matter what velocity you play at – Donna Lee or Maria, Chet Baker or Raphael Mendez – smooth, reliable valve action is paramount. Keeping the pistons and valve casings clean and properly oiled is the best way to keep them humming.

3. Exterior
The outside of your horn is fairly easy to keep up with. Whether lacquered, plated, or natural brass, simply keeping it clean is the best way to keep it healthy. Since sweat and other body oils can be corrosive over time, it's good to focus on where you contact the horn the most. Some opt for accessories like valve guards that wrap around the valve section and shield the area of most contact. It is advised to remove wraps and gutter guards from the instrument when not playing.

4. Interior
The important part! The inside of your horn, where you can’t see, is where the real dangers lie: residual moisture, biofilm, dust, food particles. Over time, these contaminants may lead to a buildup of calcium and verdigris slowing or seizing the moving parts. Salts and enzymes in our body chemistry can even “de-zincify” critical areas of the horn like the mouthpipe or tuning slide crook. This dezincification process is commonly referred to as “red rot”, and is identified by bright red dots that can appear on the exterior of the instrument reflecting where the zinc is lost. What is left behind is actually brittle copper which can perforate over time, eventually reducing the integrity of the brass. Extensive red rot can disrupt the flow / vibration of air through the horn, affecting the responsiveness and sound. Red rot can occur anywhere in the horn, and if advanced enough requires replacement of the affected parts.
Note: The exterior of the horn is not immune from dezincification! Sweat and saliva contain salts that can cause pitting where they come into contact. The best way to mitigate this is to wipe down the horn with a soft, absorbent cloth when putting it away.

5. Slides
Like the valve section, maintaining slides is really about keeping them clean, exercised, and properly lubricated. With slides, that means occasionally giving them a refresher coat of a quality slide grease intended for brass instrument slides. Commercially available slide greases come in different weights/thicknesses, and some players find that different weights may work best on different slides (tuning or valve slides). There are some DIY approaches out there that may also be safe and effective if they contain appropriate ingredients like anhydrous lanolin. Vaseline, being non-water soluble, is thought by many to be less than optimal, yet it is still commonly used.

6. Water Keys
Often referred to colloquially as “spit valves,” water keys are located at points where moisture (in the form of condensation) collects the most, making it easy to drain the horn quickly and efficiently when playing. If you have any experience playing a brass instrument lacking water keys (like perhaps a regulation bugle), you'll have a deep appreciation for their utility! Aside from allowing the quick expulsion of water, a well-functioning water key will provide a solid seal and not leak during playing. In addition to keeping everything clean, maintenance can include cork replacement on traditional water keys, and spring replacement as needed on all types.
Ultrasonic cleaning
While it's easy to see how the outside of your instrument is looking, the inside is what's important to your performance.
Over time, deposits can build up as a result of the normal introduction of condensation, saliva, and of course, lunch. Waterkeys are good at their job, but can only drain most of the recent liquids put into and condensing within the horn. Eventually, the deposits left behind can affect the flow of air, resonance, and the smooth functioning of moving parts like valves and slides.
Methods for doing a complete inside and outside cleaning of a brass horn range from the home bathtub approach, to chemical cleaning, and ultimately to ultrasonic cleaning. The bathtub method is better than nothing, but is not going to dislodge all of the stubborn deposits that form on hard-to-reach interior surfaces. Chemical cleaning is more effective, but it’s important that the specific chemicals used are not going to cause damage to the brass and solder joints.
That's why ultrasonic cleaning has become the go-to approach for the safest and most effective way to clean a brass instrument. Why? Because ultrasonic cleaning involves immersing the instrument in a specialized tank, containing a safe, mild detergent solution. The tank is then activated to produce waves that create millions of microscopic vacuum bubbles that implode in a violent action, gently scrubbing contaminants from all exposed surfaces. This process is called "cavitation," and it's why ultrasonic cleaning is the most effective – and safest – way to a clean horn..

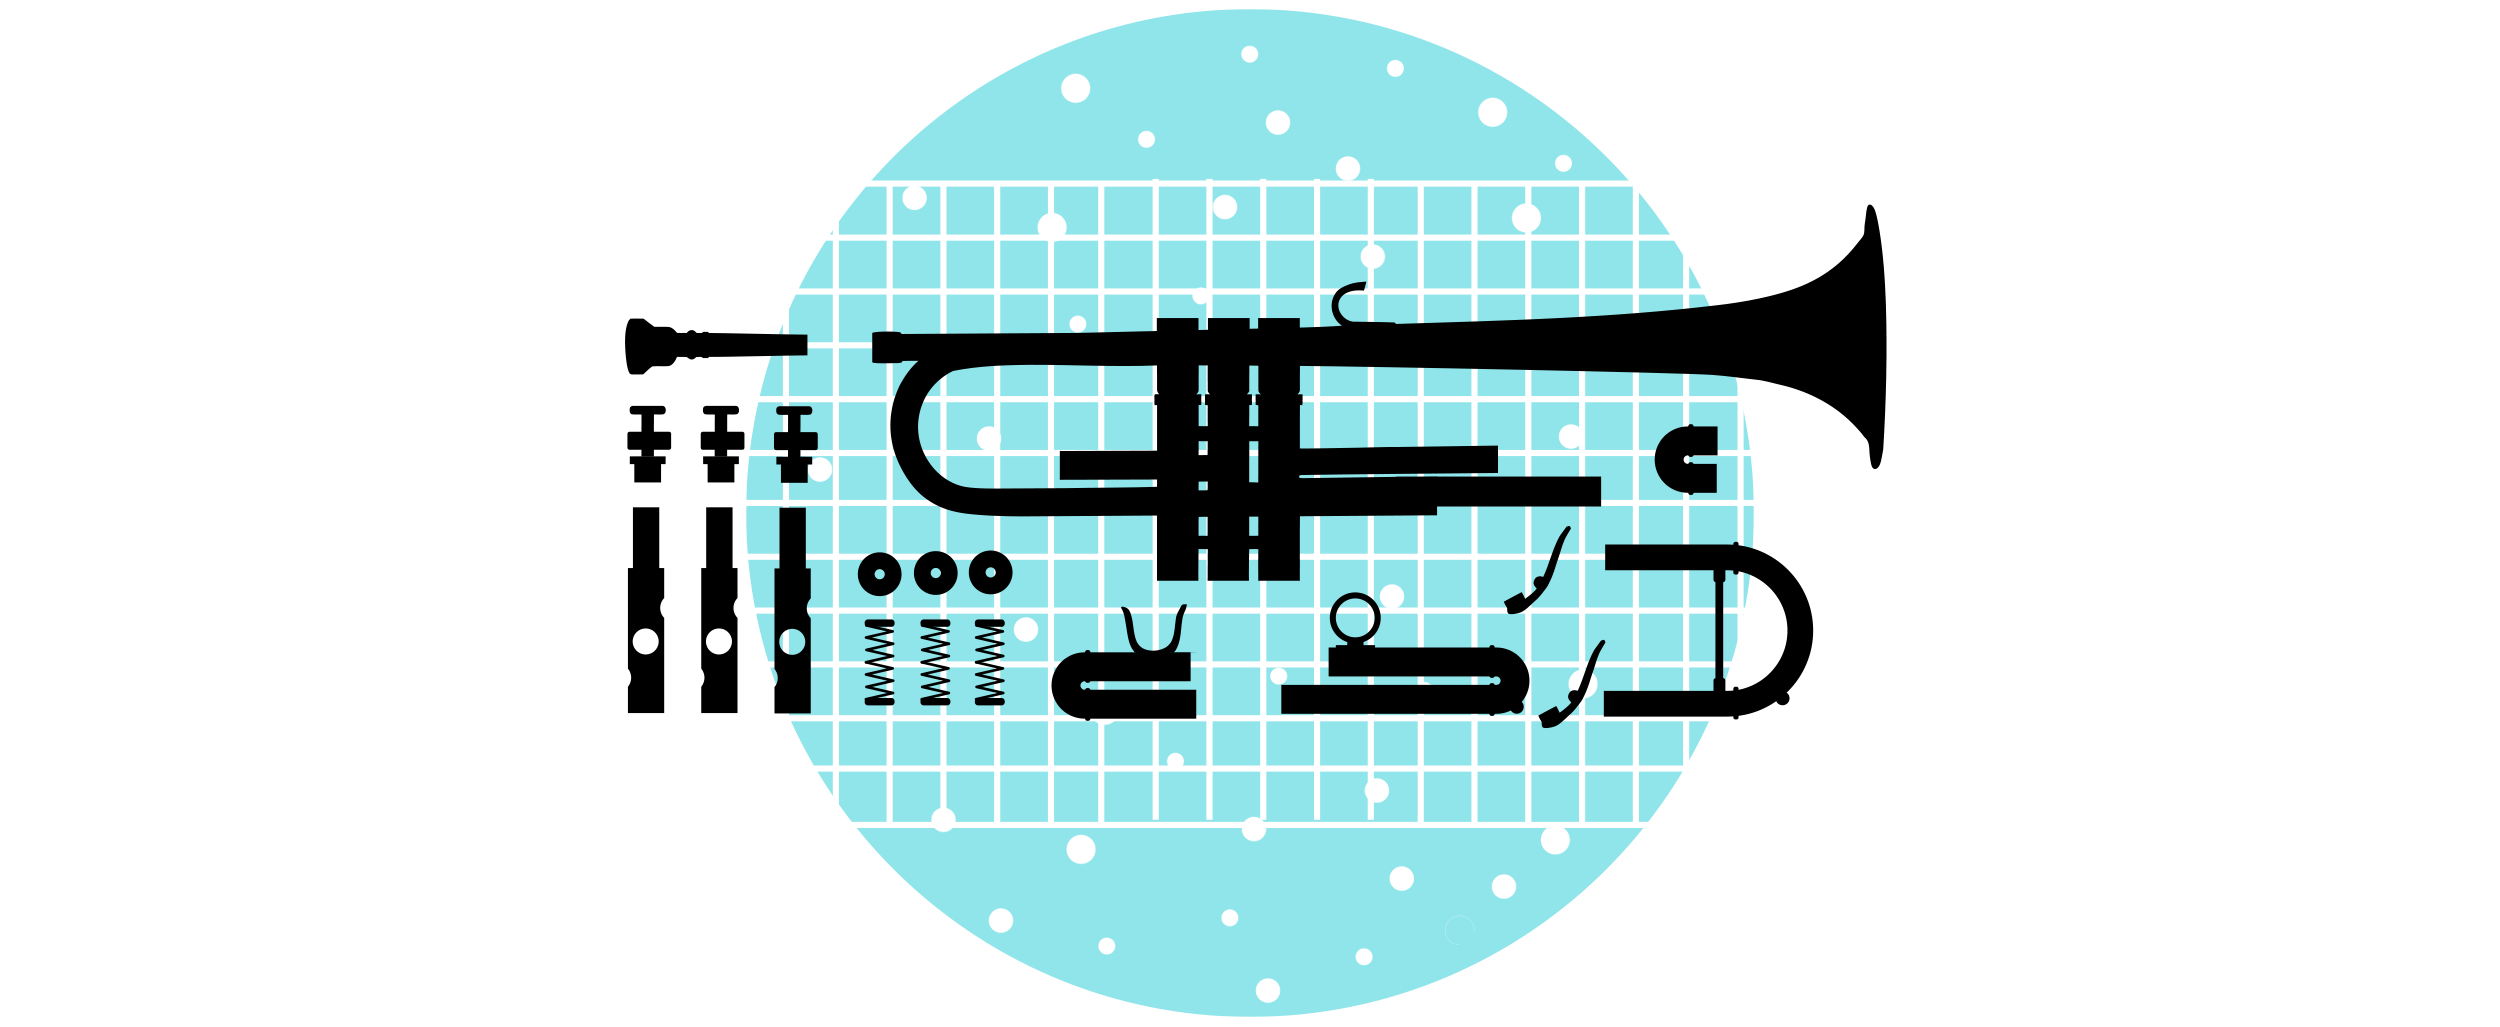
1. Disassembly
First, the instrument is completely disassembled. All slides, pistons, buttons, stems, caps, waterkeys, springs, slide levers and slide stops are taken down to the level of individual parts. This ensures that the cleaning process reaches every possible surface of the entire horn.

2. Inspection
Then, the body of the horn and all individual parts are inspected, to assess the overall condition and to spot any potential problem areas, such as advanced red rot.
Note: if severe or advanced red rot is noticed during the initial inspection, we would recommend the Safe Chemical Cleaning as your better option. Exposing severe red rot to ultrasonic frequencies may cause it to degrade further.
3. Cleaning
All parts are carefully placed in a stainless steel basket and lowered into the ultrasonic cleaning tank, where the combination of cavitation action and an organic salt solution remove all scale and other deposits.

4. Rinsing
After a few minutes, the instrument and all parts are taken out of the tank and carefully swabbed and thoroughly rinsed with clean water to flush out any remaining contaminants.

5. Reassembly
Once dried, the horn is reassembled, using the highest-quality valve oil and slide grease, and any part replacements that have been added to the service, such as new corks or felts, are installed.
6. Clean horn, clean sound!
The ultrasonic cleaning process has not only removed any obstructions to the smooth flow of air through the horn, it has also optimized the smooth functioning of valves, slides, levers and waterkeys!